How to Slice Watermelon like a boss.

I love watermelon, and it deeply saddens me that it will be a long time before I get to eat a melon from the Texas valley again. The melons here in Colorado tend to be smaller due to the shorter growing season and they’re definitely more expensive in the store. The upside to seeing melons in the store and at the farmers market is the definitive proof that it IS possible to grow watermelon in Colorado. Come Springtime I plan on growing my own batch in cloth bags in the front yard. Wish me luck.

Sarah and I went to the Farmer’s Market right by our house on Thursday at 1:00 pm right before they closed which is the perfect time to go get fresh fruits on the cheap. I convinced one nice farmer to sell me two watermelons for $6 which makes me one happy camper.  Sarah also snagged us a bunch of peppers and sweet onions to cook with later.

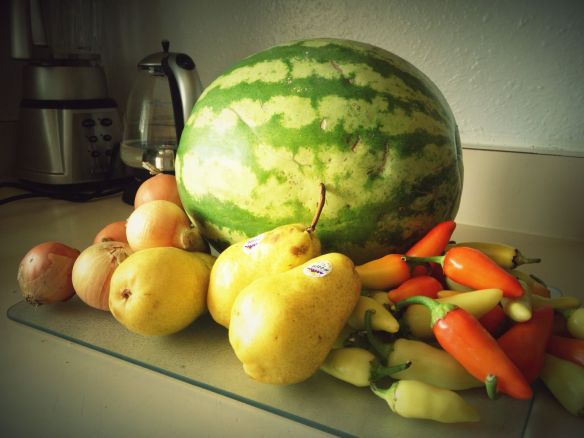
Pears, Onions, Peppers. Watermelon

Our haul from the farmers market.

In my years of life I have attempted to cut watermelon several ways, “traditional ways” you may call them, and none of them work nearly as well as the way I’m going to teach you shortly. I learned this method from watching Giada De Laurentiis in passing at Will and Britt’s house. This method maximizes the amount of red flesh you get off of the rind and is incredible simple.

*Side Note I often confuse Giada De Laurentiis with Gianna Michaels and I like to think that Gianna would also host a really enjoyable cooking show. But I digress.

Gianna Michaels in a yellow skirt SFW

Not quite the same as Giada. Better, some would say?

Let’s slice some melons shall we?

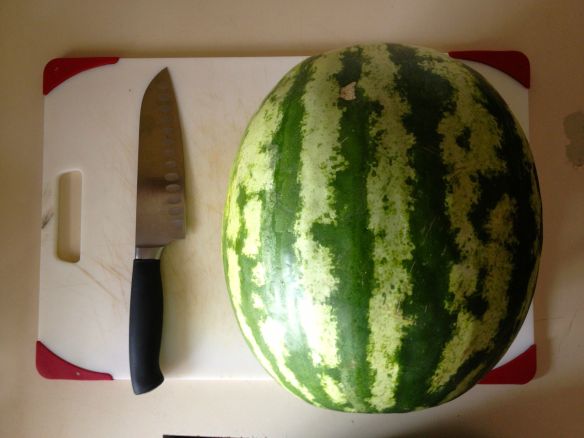
Watermelon and Santoku knife on cutting board

Prepare your tools and your workspace.

First you’ll need to secure your melon, cutting board and knife. I prefer a really sharp Santoku knife to do my prep on fruits and veggies. If you’re interested in learning more about sharpening kitchen knives I suggest you read this great tutorial on the eGullet forums.

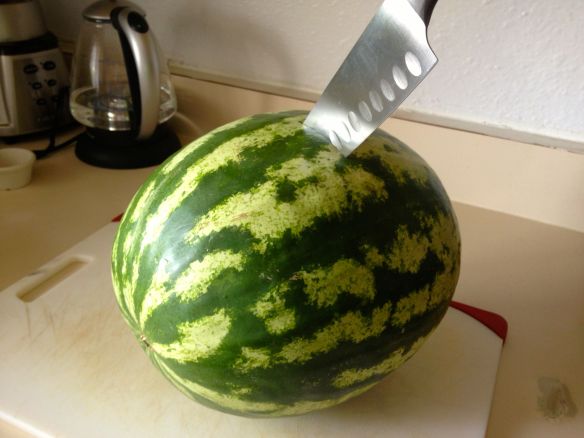
Watermelon being sliced in half

The step is to cut your melon in ‘twain.

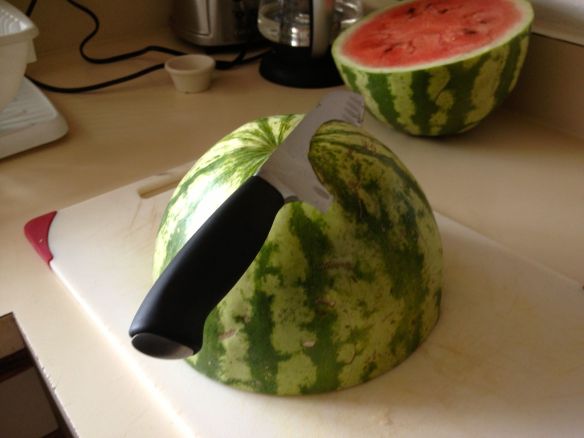
Once you’re ready to get down and dirty cut your melon in half perpendicular to the stripes, or short-ways so you have two melon ends to deal with. We want to be able to set the melon on its cut side so it has a stable base for the next step.

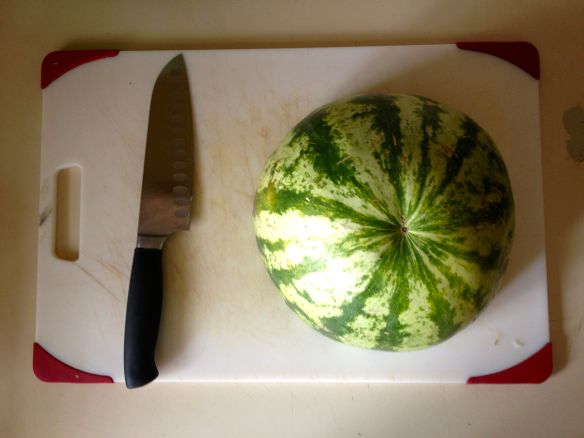
Half of a watermelon on a cutting board with a santoku knife

Halved melon is in halves.

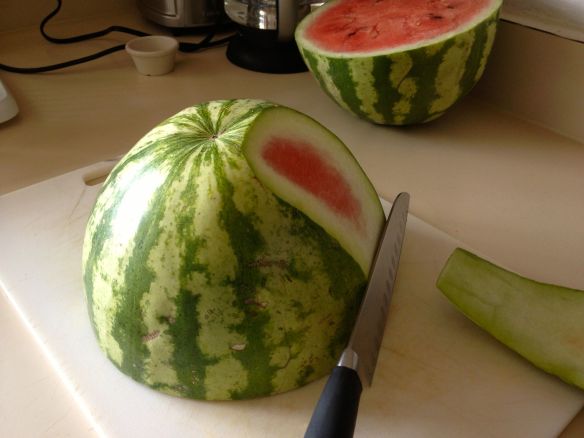
From this point we’re going to start shaving the rind off of the delicious melon meat hidden within. Confused yet? Keep reading and all will be revealed.

Watermelon half being shaved with a santoku kinfe

Shave the melon at a nice shallow angle to start sneaking up on the red meat inside.

By starting at the stem at a shallow angle and slicing the rind off you can get right to the edge of the edible fruit and not waste any of it.

Watermelon having the rind shaved off

First shave. Note how only a little red was exposed with the first cut.

Continue in a circle around the melon until you have the rind completely shaved away. I’d guess that it takes makes 10-15 solid slices to get the rind completely removed.

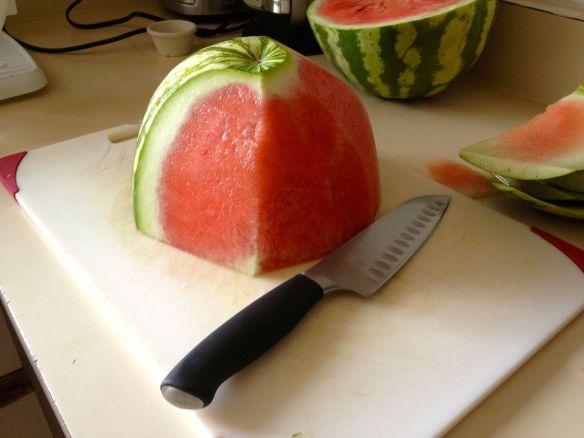
Watermelon with half of the rind removed

Half shaven at this point

Remeber the key is only to remove green and white material with each cut, if you’re seeing red on the rind you’re cutting too deep or too much at once.

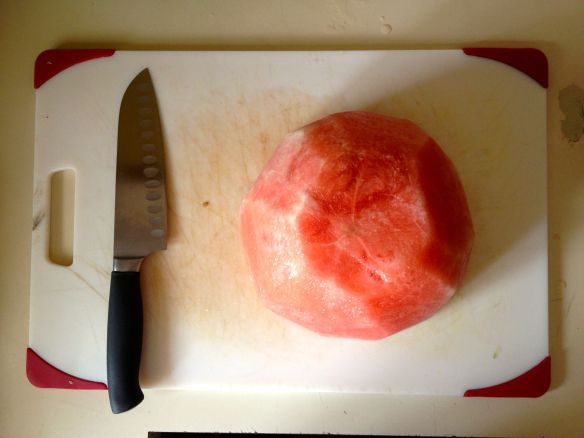
Watermelon without it's rind on a cutting board with santoku knife

That melon is naked!

Once you’ve shaven the rind off take a moment to admire the sculpture you’ve just made. i always think of a geometric turtle shell once I’m done. The turtloid from Sonic 2 springs to mind honestly.

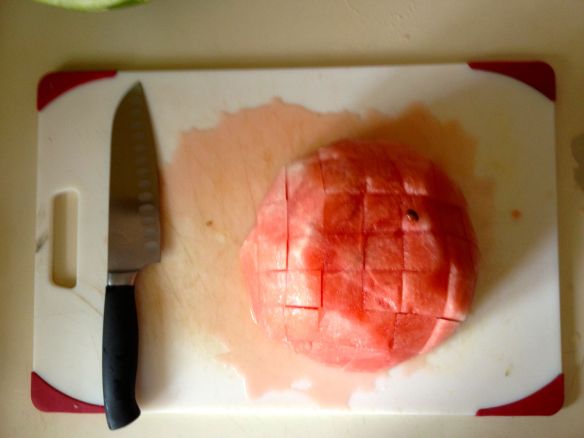
watermelon cut into slices

Vertical slices first.

Once the melon is naked (with the rind removed) it’s ready to be cut however you choose. I like to make cubes or spears depending on how I’m feeling. Today I opted to just make spears which requires one less step than cubes.

Start your slicing by making 3/4″ vertical slices through the fruit.

Gridded watermelon

Horizontal grid.

The next step is to slicing the melon again in 3/4″ horizontal stripes, effectively making your melon a 3/4″ grid of melon spears. From this point you could cut the melon spears again to make 3/4″ cubes, but I prefer spears so I can eat them with my hands and fit them in a bowl easier.

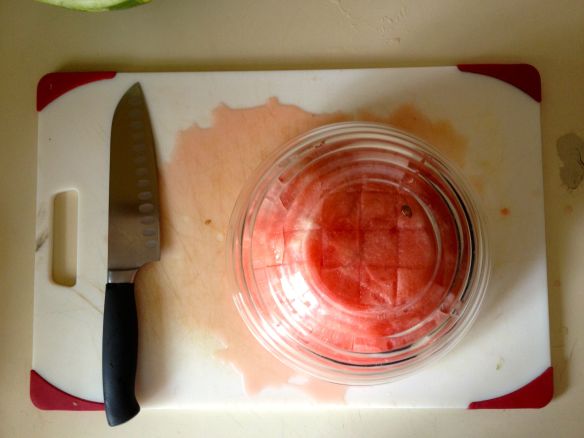
Sliced watermelon with a glass bowl over top

See how nicely it all fits into that bowl?

I put my bowl on top of the melon and then flip the whole cutting board so the mellow lands right side up and all together in the glass bowl.

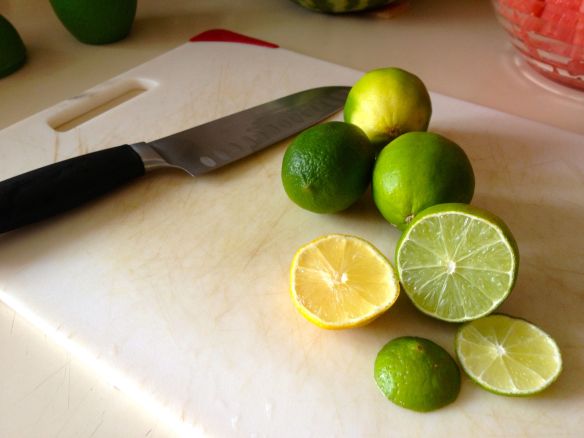
Limes, lemons and a santoku knife

Now we add the secret ingredient.

Limes! There’s something about their tart sweetness that has always called to me. A glass of iced sweet tea with Lime is perfection defined to me, so it’s no surprise that I add lime to my water melon.

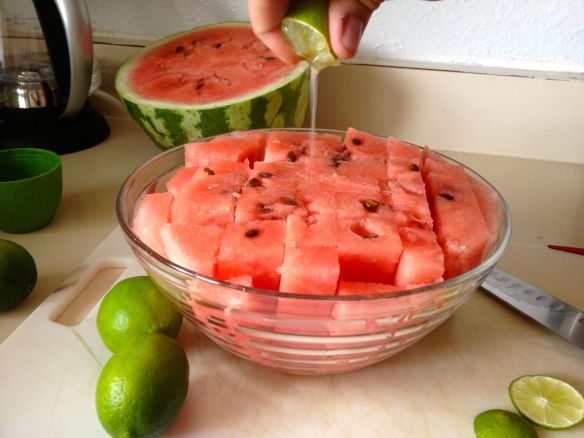
Bowl of watermelon with a lime being squeezed on top of it

This is where the magic happens.

Add as little or as much as you like; I like to use one whole lime for one whole watermelon which results in a nice balance of sweet and sour.

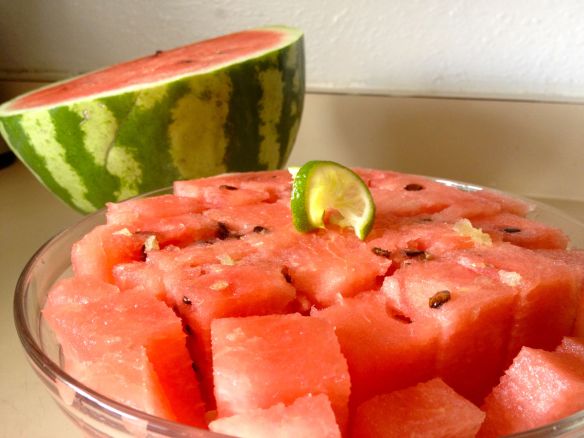
Watermelon in a bolw with a lime wedge

This is my idea of the perfect healthy snack.

That’s it! Now all you have to do is eat the melon before your friends and family starting poking around and asking for a piece.

Next time I’ll show you how I brew iced tea.

-Devin

Watercolor Sunflowers for the CSK Group.

I’ve recently been meeting with designers and showing my portfolio around in the hopes of getting constructive criticism and jobs. After my interviews I always like to send a handwritten postcard of my own design as way to show my skills and stand out from the crowd.

I decided to do some technique building exercises as postcards to knock out two birds with one stone for two of the cards. The exercise was to help me learn how to mix my three primary colors (red, blue, and yellow) to make all the other colors I needed. I’ve learned that by using only 3 colors to create the rest of your palette your final result tends to be a much more cohesive painting.

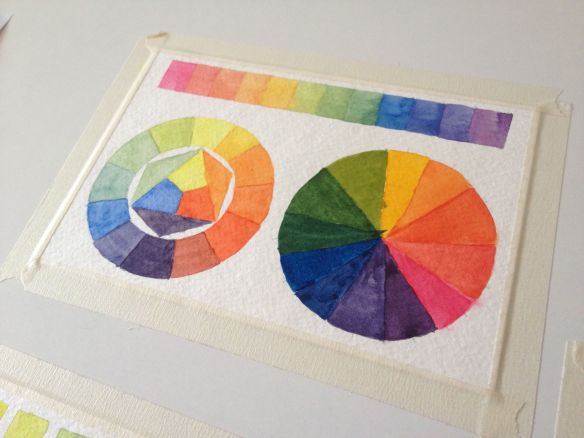
Two color wheels and a color bar

Showing the differences in blending warm and cool colors

I actually mixed up my reds on these wheels which makes makes them incorrect. I will make a new set eventually. The Color bar on top is a proper 12 color palette made from 3 cool color primaries.

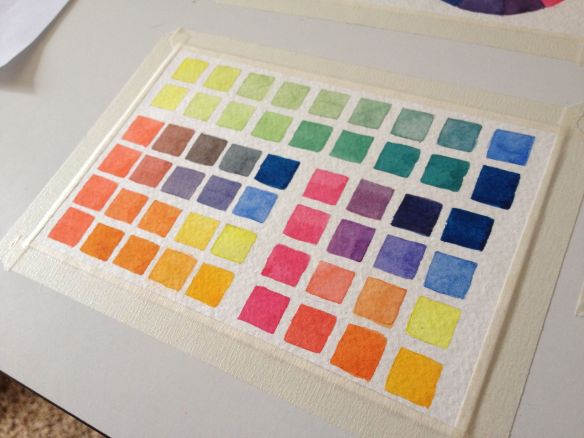
Color bars in watercolor

Here we find color bars showing cool/warm reds blending with cool/warm yellows and blue.

Notice the way you can make many, MANY different shades of green by using a cool yellow mixed with a cool/warm blue.

Ink drawing of Texas with the Texas flag

Austin is from Texas so I had to show him some love.

I also added a quick pen drawing on the back of each of my cards just for kicks.

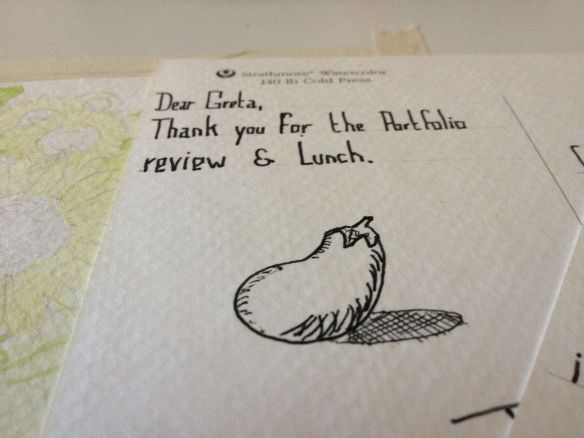
Ink drawing of an eggplant

An eggplant for Greta because why the hell not?

That’s a pretty sweet eggplant right?

I also sat down recently with Keith, Cristi, and Lori of the CSK Group for an interview about freelance design work so I made them a card as well.

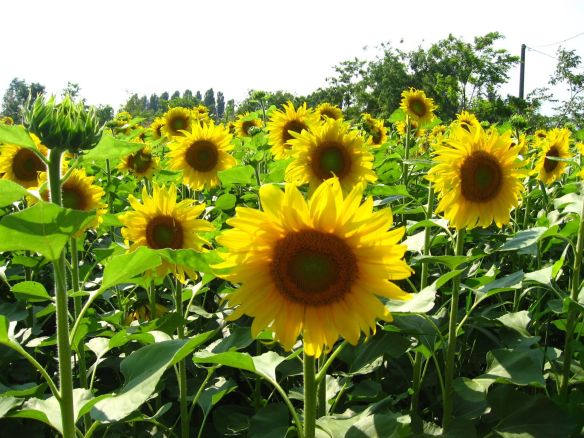
Sunflowers from Google Image Search

This was my reference photograph.

The plan was to paint a field of sunflowers using CSK green as one of the main colors.

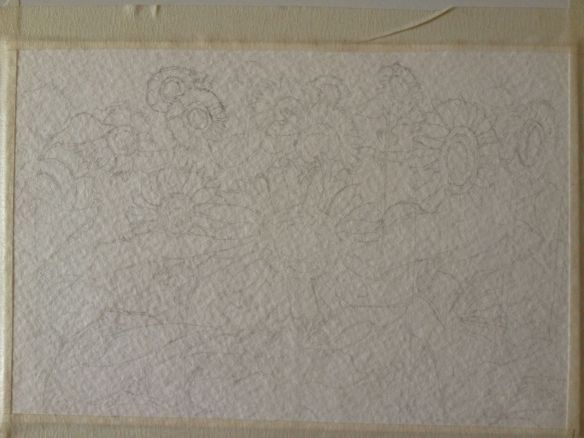
Sunflower Watercolor, initial sketch

Here’s the initial sketch I made after dividing the image into 4 quadrants.

My first task was dividing the image into a 4 equal rectangles and then sketching those onto the canvas to plan out my painting. I enjoy using a hard pencil to do these sketches to get nice light lines, something in the H4-5 range.

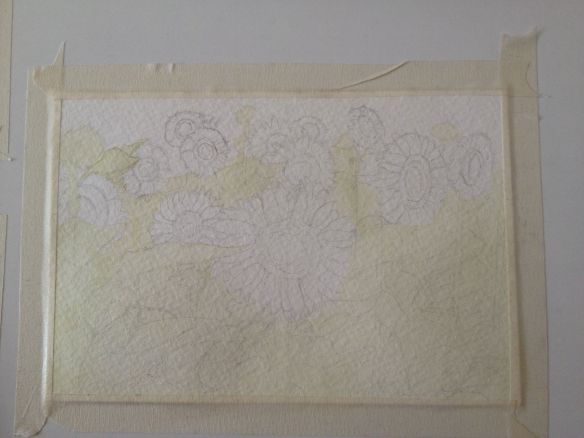
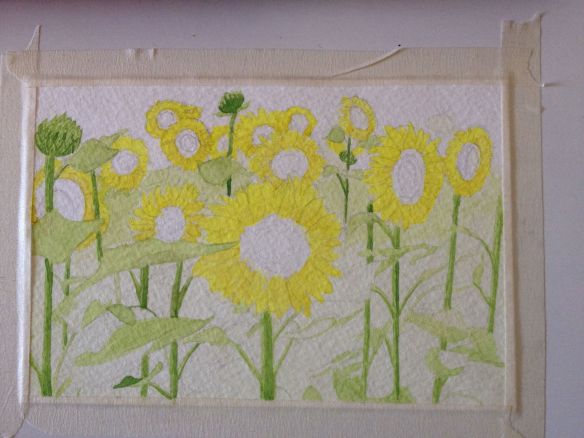
Sunflower Watercolor, first wash of color

First light wash of green to get started with color.

Once I was pleased with the sketch I mixed up a green and diluted it quite a bit to give myself a nice light green wash to put down on the paper. The green looks more brown/yellow here due to the warm light I have in my craft room.

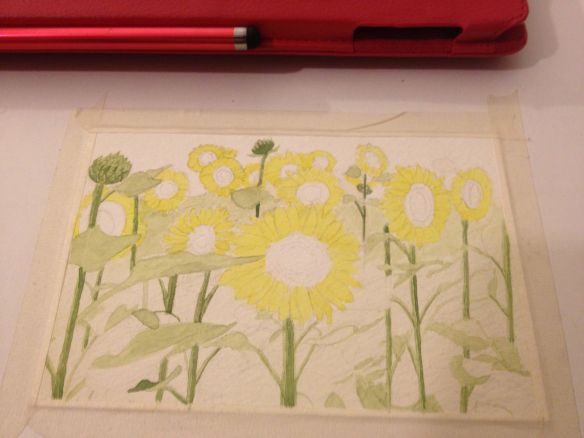
Sunflower Watercolor, stems and leaves first color

Putting the first bit of CSK green down on paper.

At this point I’ve put the first yellow wash on the flower petals and have added the CSK green I mixed up to the stems and leaves of the plants.

Sunflower Watercolor second wash of yellow on the petals

Second wash of yellow on the petals

I then added a second wash of yellow on the petals and a darker green on the stems.

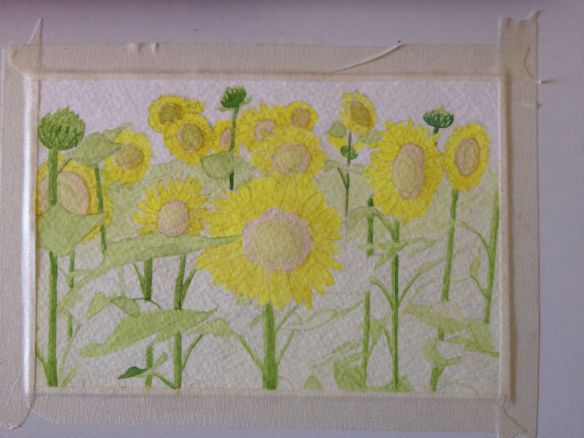
Sunflower Watercolor, petal shadows

A purple grey was mixed and added to the flowers to add a sense of depth.

I’ve learned that adding more of the same color does not result in deep shadows as one might expect. To do proper shadows a grey color made from the opposing color on the color wheel is often best. The sunflowers actually have a very light purple wash across them to create the shadows.

Sunflower Watercolor, seed wash

Adding a brown wash with a green center.

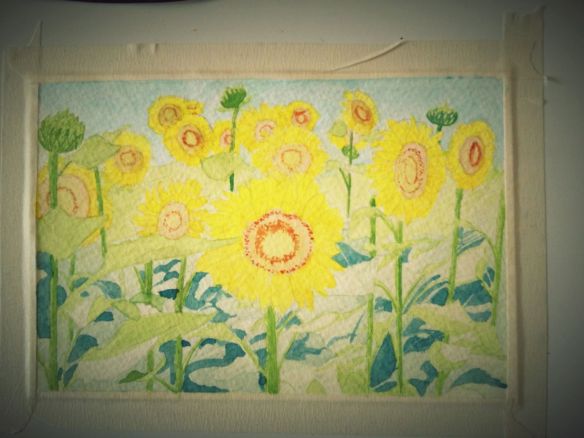
At this point in the painting I’m still very pleased with it. I honestly could have stopped right here and been perfectly content, but I opted to keep going for a more realistic flower, the results sadly are not to my liking. These things happen though and by making the mistakes now you learn not to make them later. Notice how I used a wet in wet wash on the center of the seed to give a grown to green flow without a hard edge.

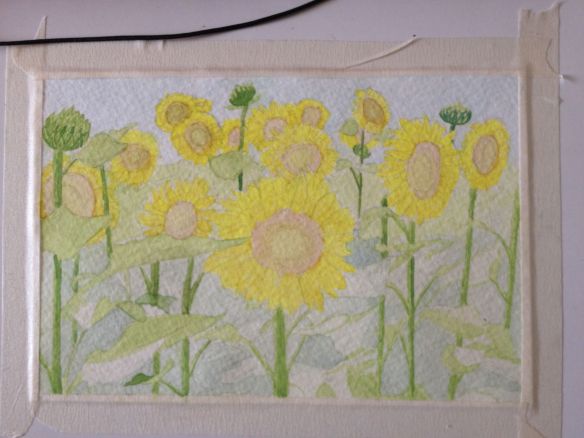
Sunflower Watercolor, sky wash

Added the wash for the sky, and the shadows below

At this point the painting has taken on a much different feeling. I added the blue wash to the sky and added the light wash of dark green for the under shadows of the leaves(leafs). The paining is suddenly much cooler thanks to that under-shadow wash.

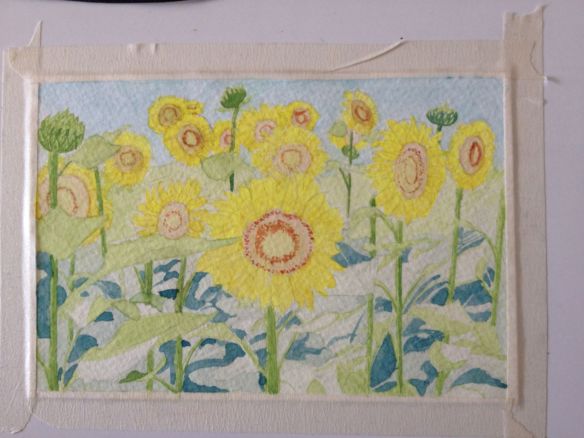
Sunflower Watercolor, seed texture

Seed texture with varied amounts of success.

I was nearing the end of the painting and it was time to add the final details. Details can make or break a painting, especially if it’s a botanical watercolor for documentation purposes. I added the seed detail with a varied level of success. You’ll notice varying levels of paint density on different flowers which unfortunately cause hell on the depth of the painting. Sometimes you have to know when to say enough is enough I suppose.

Sunflower Watercolor, darker shadows

Adding darker shadows

Looking at the reference photo I realized that my darks weren’t nearly dark enough and added a little more to bring it around. The biggest hurdle when painting is determining how much detail to add, this was the same hurdle.

Sunflower Watercolor, complete

Completed painting with a nice photo filter

Here’s the completed Painting after it had been posted to Path and filterized. All in all I’m pretty pleased with the way this painting turned out. I hope they enjoy it (and hire me for some freelance work soon).

-Devin